

 русский
 Français
 Español
 عربى
عربى Deutsch
 Português
 italiano
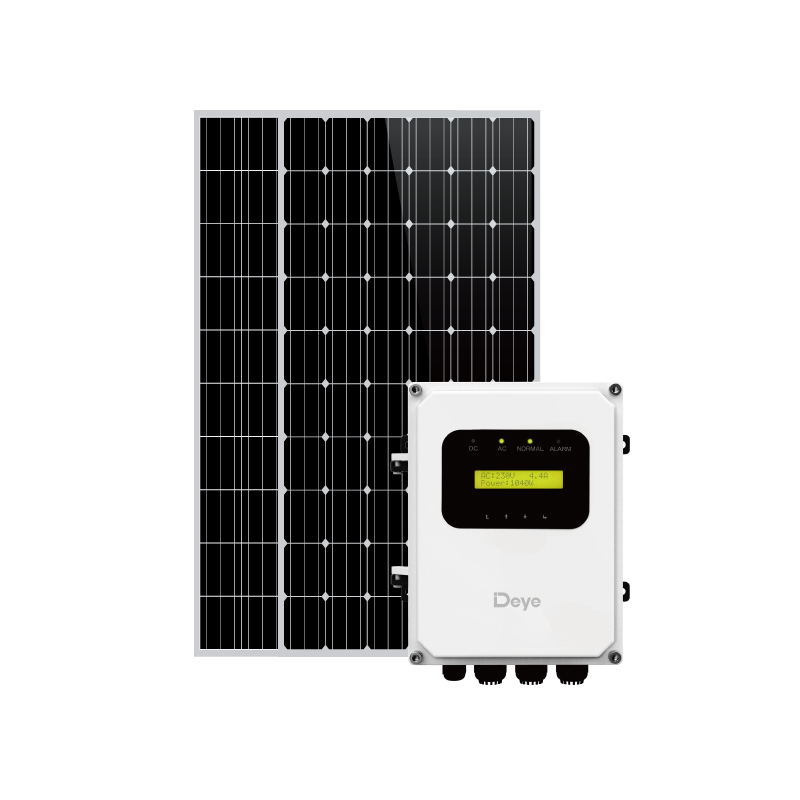
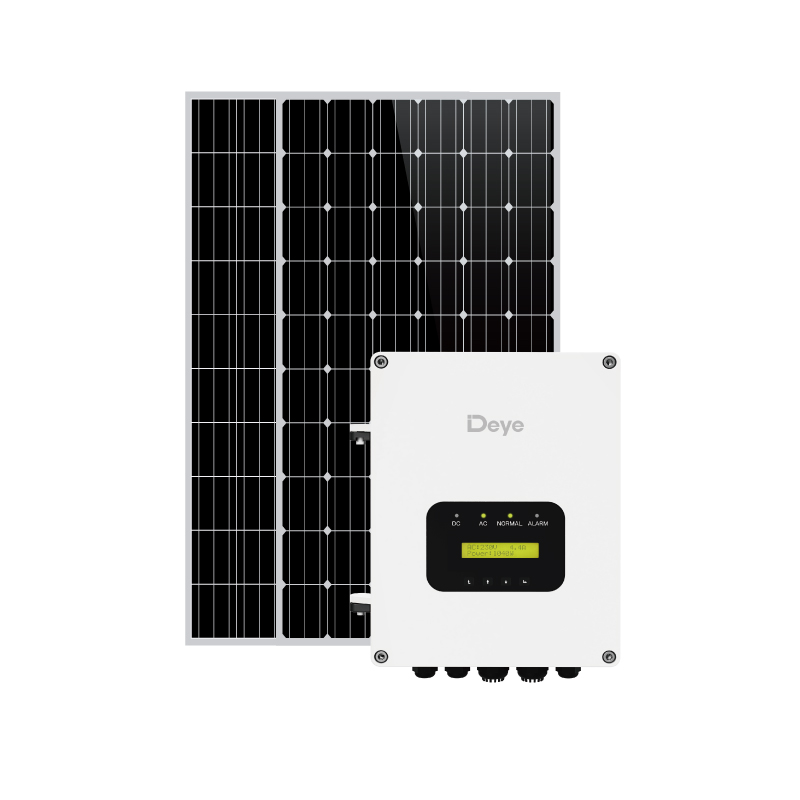
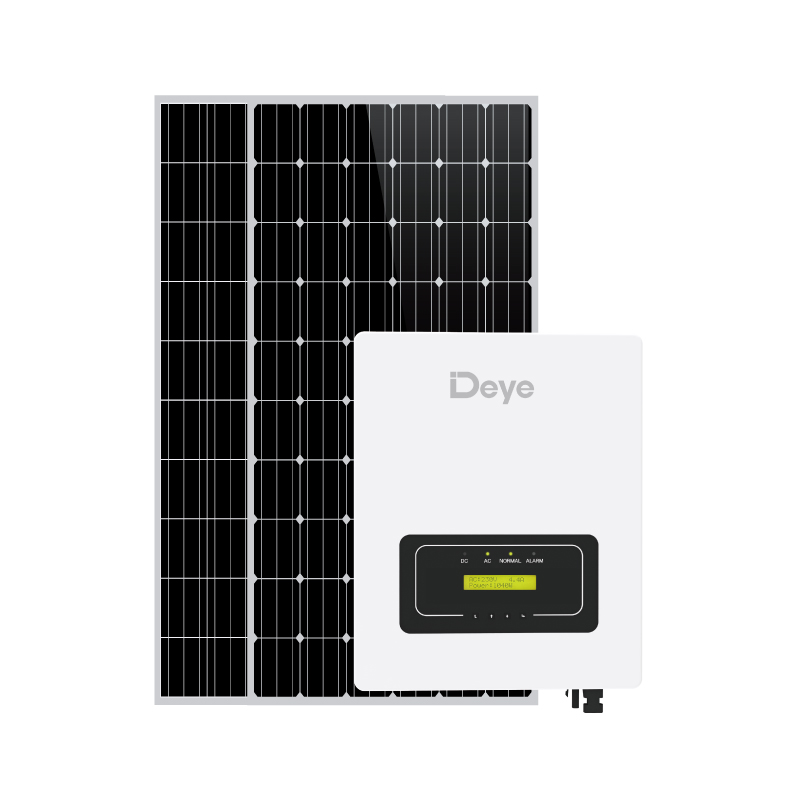
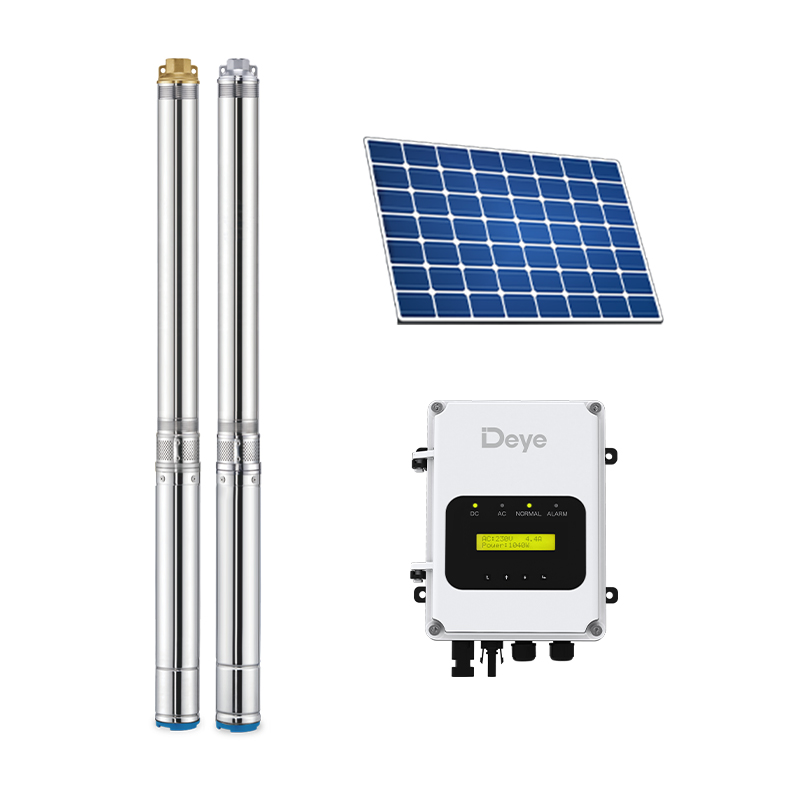
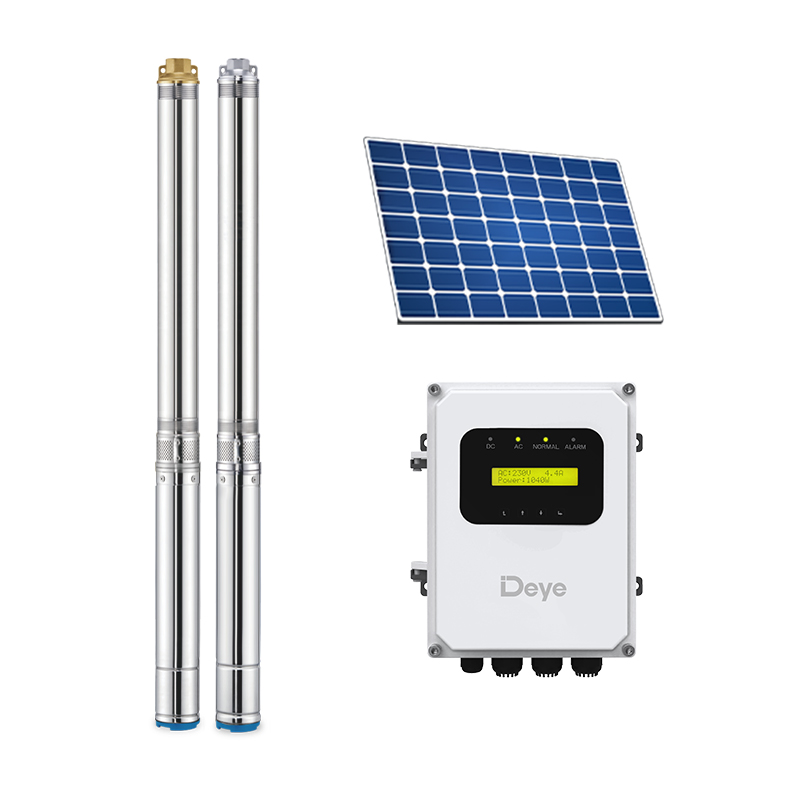
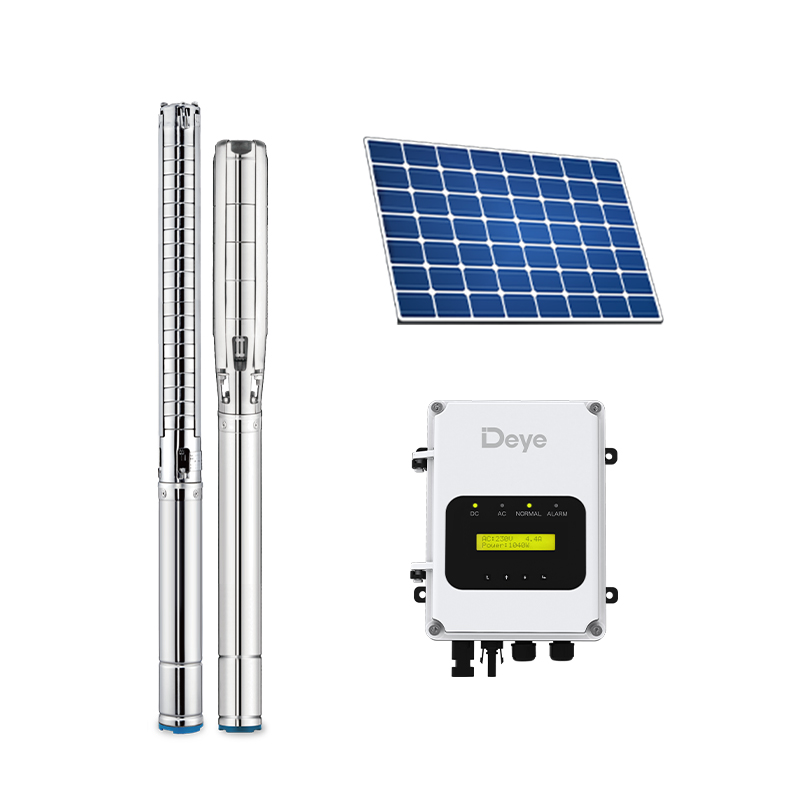
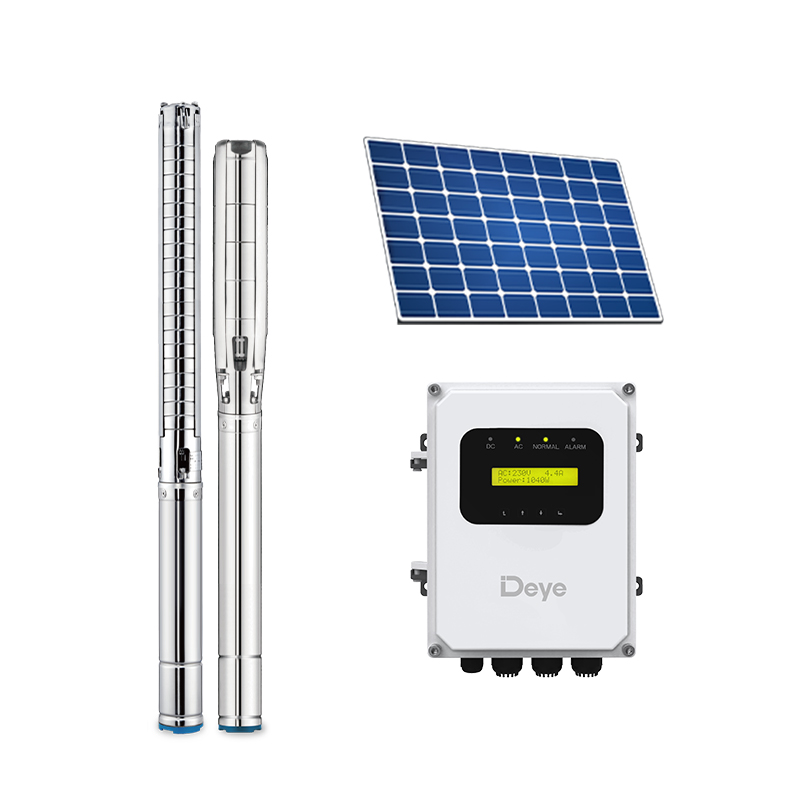
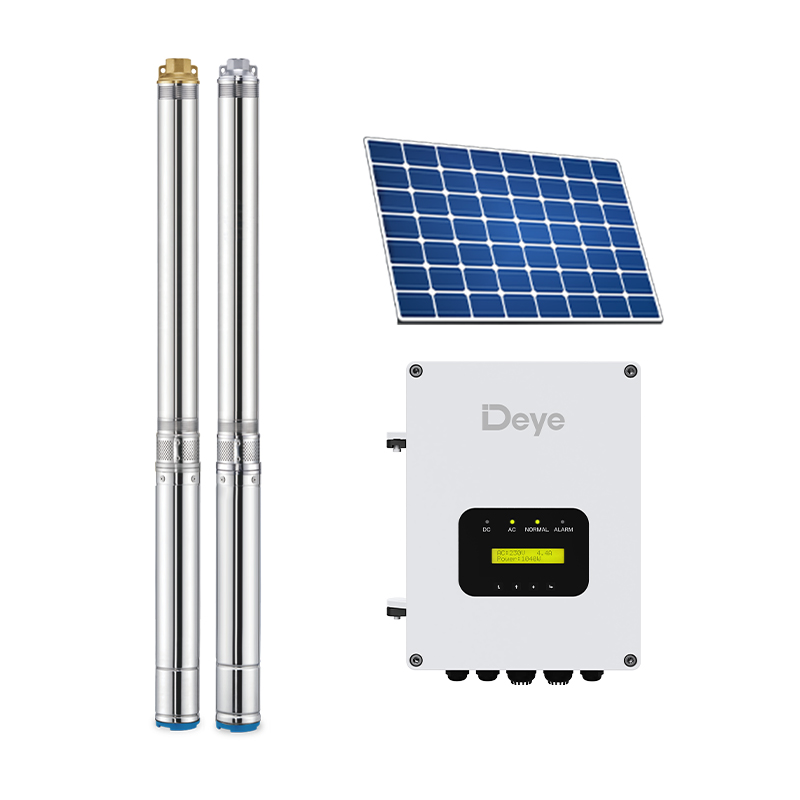
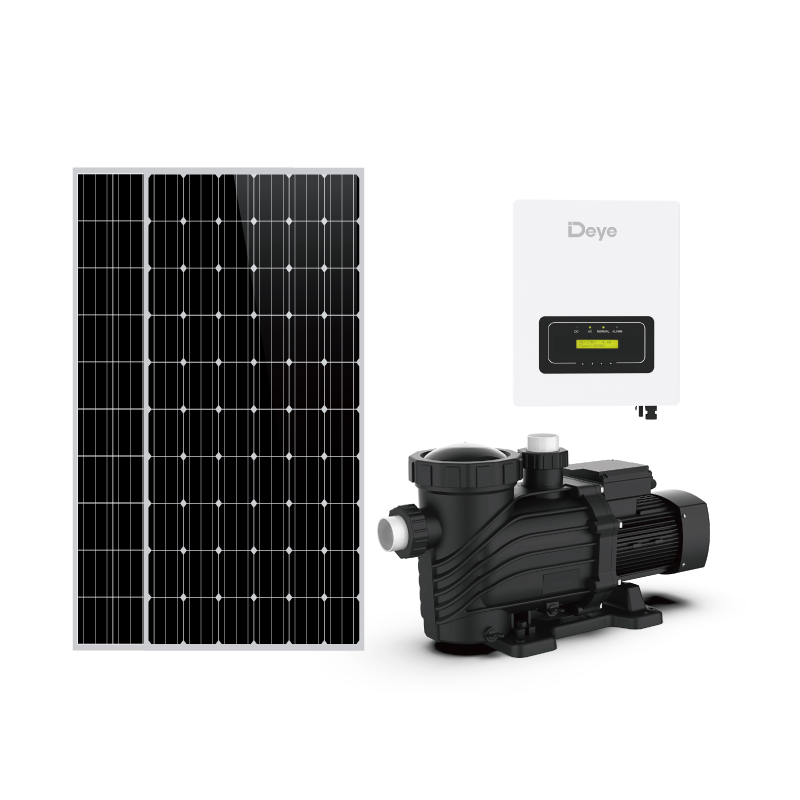
You hook up a solar pump to your well by connecting three components in one circuit: the photovoltaic array feeds DC power into a controller, the controller drives the submersible pump, and the pump lifts water through a drop pipe and check valve into a pressure tank or storage. In plain terms, a solar well pump system is a solar array, a pump controller, and a submersible pump that work together automatically, with the controller managing voltage, current, and on/off cycles. This guide covers the exact hookup order, component sizes, wiring rules, and the installation mistakes that cause most callbacks.
content
What a Solar Well Pump Hookup Needs
Before you run any wire, confirm that your well can physically accept a solar pump: the casing must be at least as wide as the pump, the static water level must stay above the pump inlet, and the pump must be rated for the depth and flow you need.
The complete hookup is a short parts list. Every component is selected around the pump's voltage class and the well's depth:
| Component | Role in the hookup | Sizing tip |
|---|---|---|
| Solar array | Produces DC power during daylight | Open-circuit voltage must stay below the controller's maximum input |
| Pump controller | Regulates voltage and current; protects against dry-run and overcurrent | Choose an MPPT type; add AC/DC auto-switch if you need backup |
| Submersible pump | Lifts water from the well | Match diameter to casing: 3, 4, or 6 inches |
| Drop pipe and safety rope | Carries water and supports the pump weight | Use HDPE pipe rated for your working pressure |
| Pump cable | Carries power from the controller to the motor | Use submersible-rated copper, sized for the cable run |
| Check valve | Prevents water from flowing back down the well | Use one valve per 30 m of lift |
| Pressure tank | Stores water and controls pump cycling | Set precharge 1-2 psi below the cut-in pressure |
Deye's submersible range runs from 400 W to 13,000 W, so there is a match for most residential and agricultural wells.
How to Hook Up the Solar Pump
The hookup order is simple: wire the controller on the surface, lower the pump, connect the pressure side, then ground and test. Follow the sequence in that order and most wiring errors are caught before the pump goes below the water.
PV array to controller
DC input terminals; observe polarity.
Controller to pump
Output terminals; submersible-rated cable.
Controller to pressure switch
Controls tank fill and pump cycling.
Wire the controller before the pump goes in the well
Terminating both the solar cable and the pump cable at the controller while the pump is still on the surface is the fastest way to catch wiring errors at ground level.
- Mount the controller in a dry, ventilated enclosure within reach of the wellhead or inside a pump house.
- Land the pump cable on the controller output terminals and verify polarity on DC models or phase order on three-phase units.
- Connect the PV array to the PV input terminals and confirm that the open-circuit voltage is below the controller maximum.
- On an auto-switch or hybrid model, connect the AC feed from the grid or generator to the AC input terminals.
- Power up and check the display or LED status before moving to the pipe work.
Lower the pump with the drop pipe
Lowering the pump is a two-person job: the drop pipe carries the full weight, while the pump cable is strapped to the pipe every 2-3 metres to keep tension off the splice.
- Fit a check valve directly above the pump if the pump does not have an integral one.
- Lower the pump and HDPE pipe joint by joint, strapping the cable with UV-rated ties.
- Add a safety rope rated for the pump weight as a backup support.
- Never lift the entire pump string by the electrical cable.
Connect the pressure tank and switch
For a pressurized household supply, the controller output must be wired through the pressure switch to the tank; for storage or irrigation, a float switch is usually enough.
Set the air precharge on the tank about 1-2 psi below the pressure switch cut-in. This prevents water hammer and reduces rapid cycling, which is the most common cause of controller wear.
Ground the system and run the first test
A single grounding point prevents most lightning and static damage: every PV frame, the controller chassis, and the pump cable shield should share the same earth rod.
Open a faucet, confirm that the pressure builds to the cut-out point, and measure the current draw against the pump curve. If the amp reading is high, check the wire size and the controller setpoints before leaving the site.
Choose the Right Controller: DC, Auto-Switch, or Hybrid
The controller decides whether your well pump runs purely on sunlight or switches to an AC source, and a solar auto-switch controller is the least risky choice for a well that supplies water daily.
A DC-only controller is fine for remote stock tanks and daytime irrigation, but it stops pumping as soon as irradiance drops. For a household well, a solar auto-switch AC/DC pump controller rated at 1100-3000 W runs from solar during the day and changes over to grid or generator automatically when the sun disappears. The MPPT stage tracks the panel voltage continuously, so the pump starts soft and runs at the maximum power point.
 Deye Solar Auto-switch AC/DC Pump Controller (1100-3000W) Supplier, Factory - ZhZhejiang Deye Electrical Appliances Co., Ltd is China Solar Auto-switch AC/DC Pump Controller (1100-3000W) supplier and OEM factory,The A...View Product →
| Controller type | Inputs | Best use | What to watch |
|---|---|---|---|
| DC-only | Solar PV | Stock tanks, daytime irrigation | No pumping at night or in heavy cloud |
| Auto-switch AC/DC | Solar priority, AC fallback | Household wells with grid or generator | Needs a correctly connected AC feed |
| Hybrid ACDC | Solar and AC can run together | High-availability or high-power systems | Slightly longer setup time |
Size the Pump and Panels for Your Well
Sizing starts with the casing diameter and the static water level, because those two numbers fix the maximum pump diameter and the head the pump must generate.
| Well casing | Recommended pump | Power range | Typical depth |
|---|---|---|---|
| 3 inch | 3-inch AC/DC submersible | 400-1500 W | Up to about 60 m |
| 4 inch | 4-inch AC/DC submersible | 600-3000 W | Up to about 120 m |
| 6 inch | 6-inch AC/DC submersible | 800-3000 W | Up to about 180 m |
| 4 inch, high flow | 4-inch high-speed submersible | 5500-13000 W | Shallow, high-volume duty |
For an average domestic well, the 4-inch solar AC/DC submersible pump with a 600-3000 W controller is the layout we recommend most often: it fits a standard residential casing, handles typical depths to about 120 m, and leaves enough margin for moderate irrigation demand.
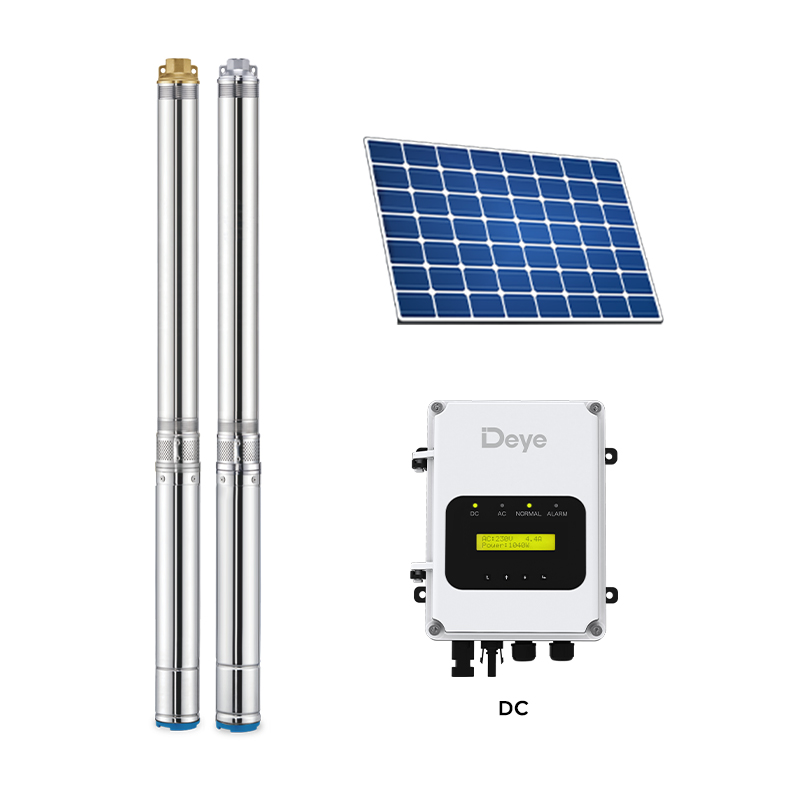 Deye 4 Inch Solar AC/DC Pump Controller (600-3000W) Plastic Impeller SubmersibleZhejiang Deye Electrical Appliances Co., Ltd is China 4 Inch Solar AC/DC Pump Controller (600-3000W) Plastic Impeller Submersible Pumps s...View Product →
For the solar array, size the panels about 20-30% above the pump's rated power to cover dust, heat, and cloudy mornings. Keep the panel voltage inside the controller's MPPT window, and use the table below for the cable run between the array and the controller.
| One-way cable run, DC side | Minimum copper gauge |
|---|---|
| Up to 15 m | 12 AWG |
| 15-30 m | 10 AWG |
| 30-60 m | 8 AWG |
| Over 60 m | 6 AWG, or move the controller closer to the well |
If your application is irrigation pumping rather than household pressure, the same three-wire logic applies, with a float switch or timer handling the stop level instead of a pressure switch.
Hookup Mistakes That Cause Failures
Most field callbacks trace back to three hookup errors: reversed polarity, undersized cable, and a missing check valve. Each one is easy to prevent during the installation.
- Reversed PV polarity can damage the controller input stage immediately; verify polarity with a multimeter before connecting.
- Undersized wire causes voltage drop and high current that starts the pump in an overload condition; follow the gauge table above.
- Missing check valve lets the water column drain back and spin the pump backwards, which damages the motor and bearings.
- Poor cable splice lets moisture creep into the connection; use adhesive-lined heat shrink or a submersible splice kit.
- Skipping a sand screen erodes plastic impellers rapidly; choose stainless steel impellers for sandy or aggressive water.
- Ignoring freeze protection cracks surface pipes; use a pitless adapter or a fully drainable layout in cold climates.
Solar Well Pump Hookup FAQ
Can I hook a solar pump to my existing well?
Yes, if the casing diameter and water level allow it. A 3-inch pump fits 3-inch and larger casings, a 4-inch pump fits 4-inch and larger casings, and the static water level must stay above the pump inlet while pumping. If your well is 3 inches or larger, a 3-inch solar AC/DC submersible pump in the 400-1500 W range can replace an existing AC pump without widening the bore.
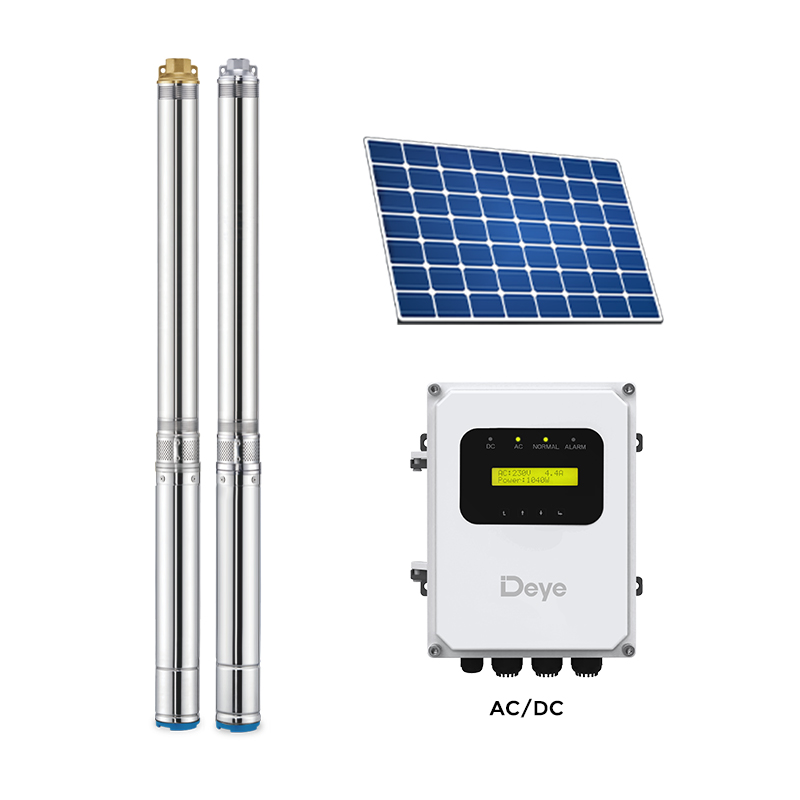 Deye 3 Inch Solar AC/DC Pump Controller (400-1500W) Plastic Impeller SubmersibleZhejiang Deye Electrical Appliances Co., Ltd is China 3 Inch Solar AC/DC Pump Controller (400-1500W) Plastic Impeller Submersible Pumps s...View Product →
Do I need batteries to run a solar well pump?
No. Most direct-drive systems are installed without batteries: the controller starts the pump when solar power is sufficient and stops it when irradiance drops. If you need water at night or through long cloudy periods, a hybrid AC/DC controller with grid or generator backup is simpler and cheaper than a large battery bank.
How long does the hookup take?
Plan for three to six hours for two people on a typical 4-inch well, not counting panel mounting. Lowering the pump with the pipe and cable is the slowest stage; the electrical hookup takes about an hour once the wires are landed at the controller.
Plastic or stainless steel impeller?
Plastic impellers are lighter, quieter, and fine for clean water. Stainless steel impellers resist sand abrasion and aggressive water chemistry, so they are the right choice for sandy wells or high-chloride water.
How do I protect the system in winter?
Install a pitless adapter below the frost line so the wellhead stays dry, and drain any surface pipe that cannot be buried. Keep the controller in a dry, ventilated enclosure; condensation is a bigger threat than cold itself.
What maintenance does a solar well pump need?
Twice a year, check the PV frame bolts, inspect the cable splices, verify the pressure tank precharge, and clean the panel glass. With a correct hookup and setpoints, the pump itself should stay down the well for many years.
Final Checklist and Next Steps
A solar well pump hookup succeeds when the pump matches the casing, the controller matches the power source, and every connection is verified before the pump goes down the hole. Start with the casing and static water level, choose the controller before the panels, and use submersible-rated cable throughout.
For off-grid water supply setups, a correctly hooked-up solar well pump runs for years with almost no operating cost. If you want a second opinion on depth, flow, or controller sizing, send your well details to our engineering team and we will confirm the right configuration before you buy.