

 русский
 Français
 Español
 عربى
عربى Deutsch
 Português
 italiano
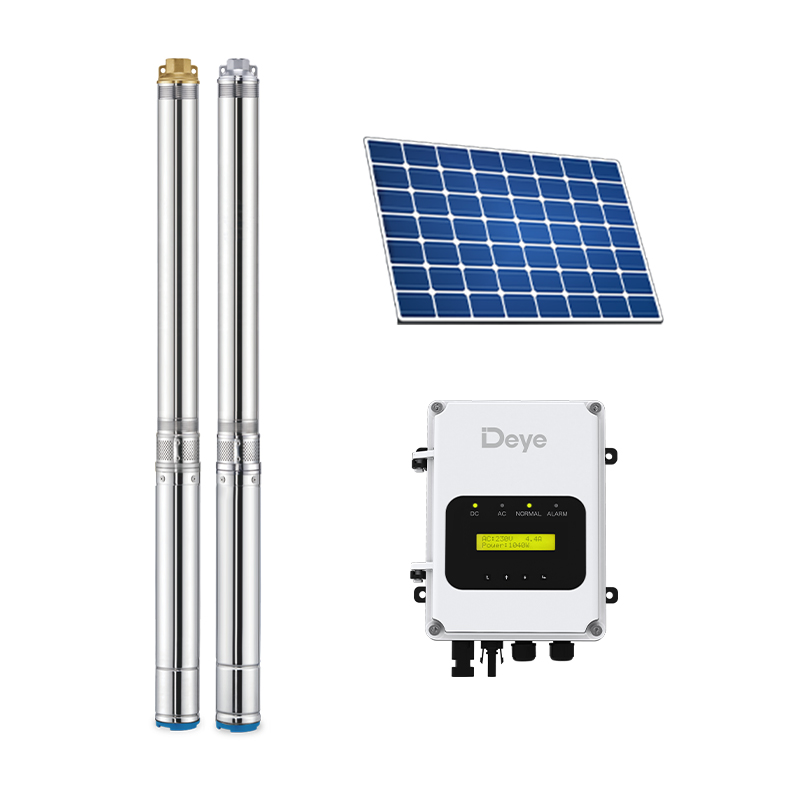
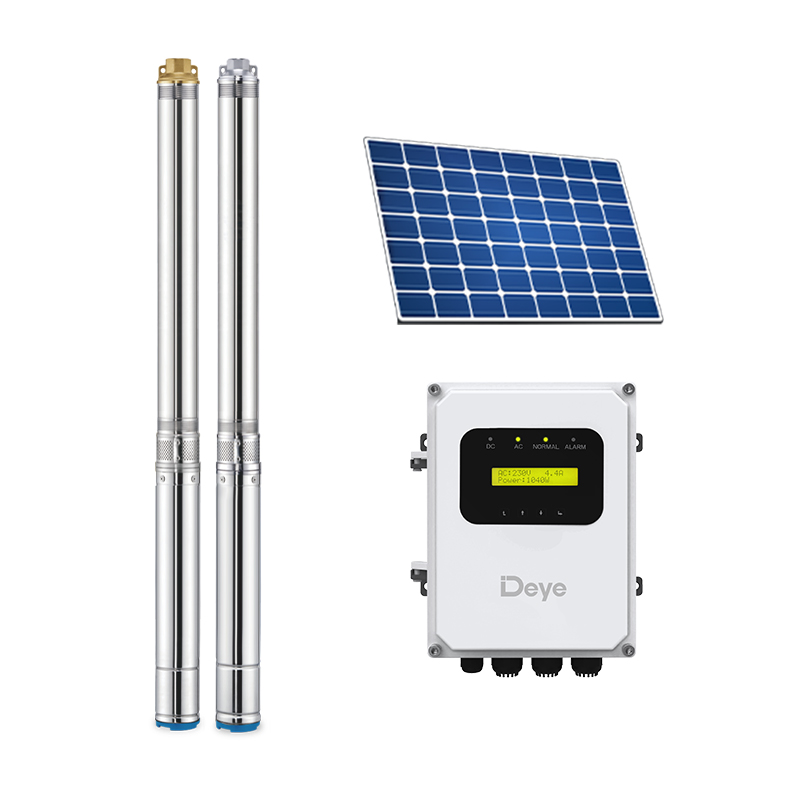
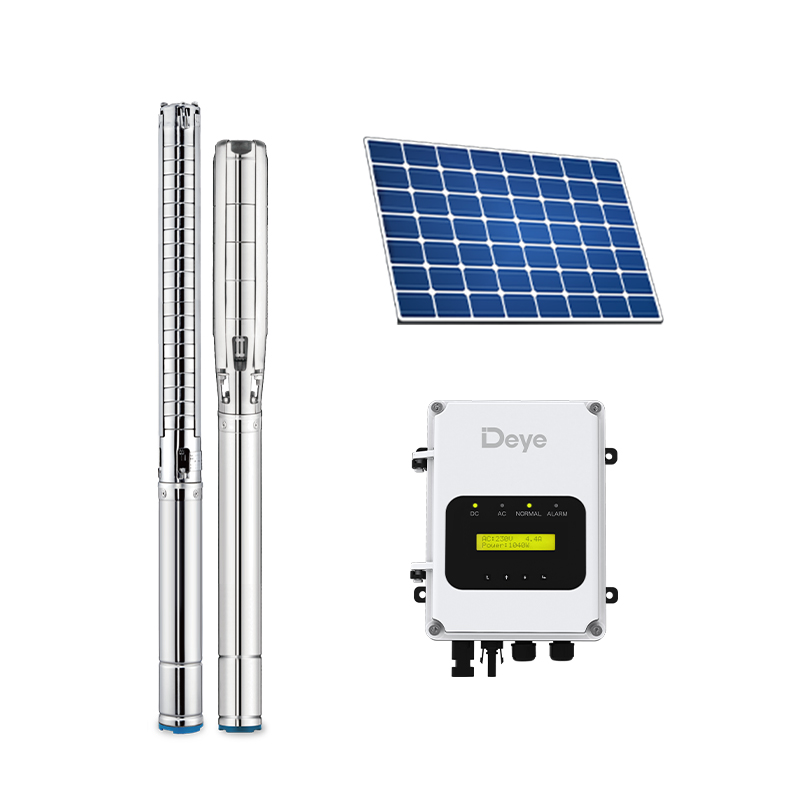
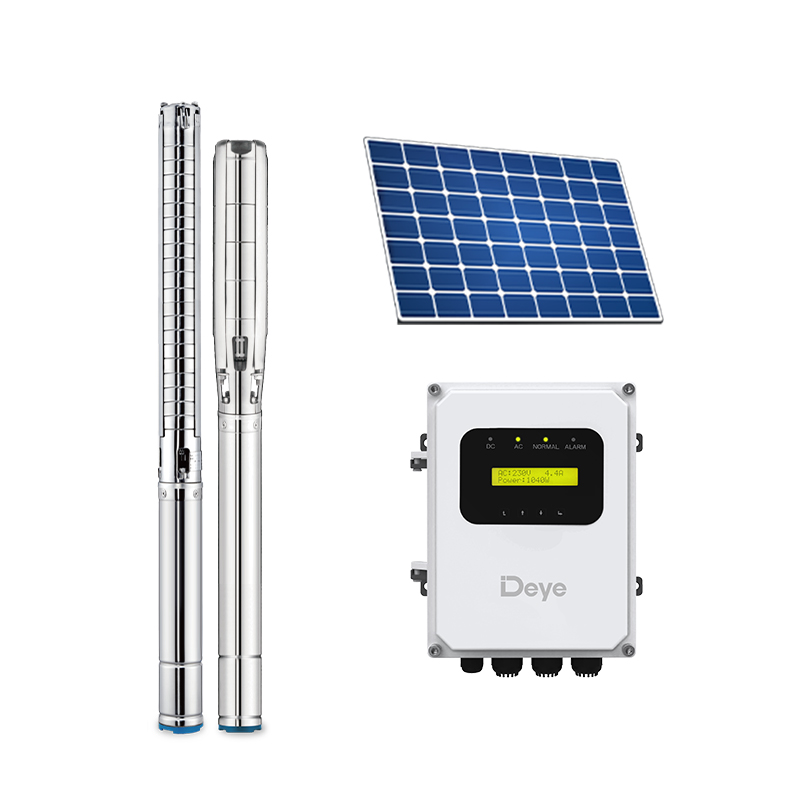
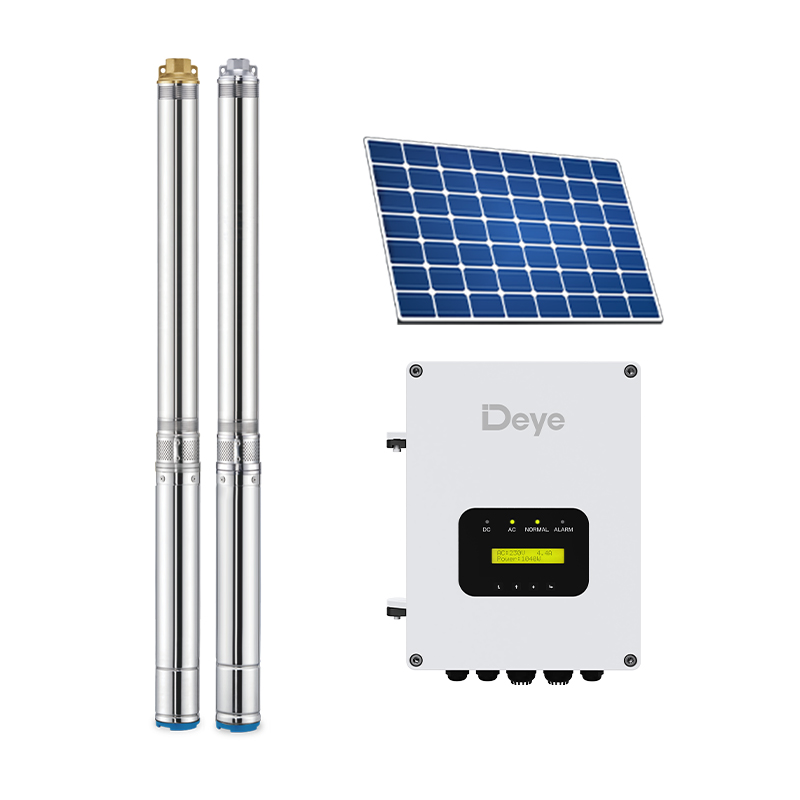
To install a submersible water well pump, you must securely connect the pump to the drop pipe, attach the safety rope, splice the waterproof electrical cable, and carefully lower the entire assembly into the well casing until the pump is positioned at least 10 to 20 feet below the static water level and well above the bottom of the well to avoid drawing in sediment. A submersible pump is not a simple plug-and-play device; it is a precision-engineered electro-mechanical unit that must be suspended on a column of water inside a narrow borehole, often hundreds of feet deep, where it must operate reliably for a decade or more without physical access. According to the National Ground Water Association (NGWA), proper installation is the single most critical factor determining pump service life, and installation errors such as kinked drop pipe, inadequate waterproofing of electrical splices, or failure to install a check valve cause the majority of premature pump failures. Understanding how to install a submersible water well pump correctly requires methodical preparation, the right tools and materials, and strict adherence to electrical and mechanical safety procedures at every step.
content
- 1 1. Preparation and Safety Before Lowering Any Equipment
- 2 2. Materials, Tools, and Component Checklist
- 3 3. Assembling the Pump, Pipe, and Cable on the Surface
- 4 4. Lowering the Pump Assembly Into the Well Casing
- 5 5. Electrical Connections, Control Box, and Initial Startup
- 6 6. Comparison of Self-Installation vs. Professional Installation
- 7 Frequently Asked Questions About Submersible Well Pump Installation
1. Preparation and Safety Before Lowering Any Equipment
Before any equipment is lowered into the well, the installer must verify the total well depth, the static water level, the well casing diameter, and the pump's electrical compatibility with the available power supply, while also ensuring that the wellhead area is clear, stable, and free of contamination sources. The most catastrophic mistake in any well pump installation is dropping the pump, the pipe, or a tool down the borehole, which can require a costly fishing operation or even force the drilling of an entirely new well. Cover the well opening with a temporary clamp or a sturdy board that cannot fall in, removing it only when the pump assembly is ready to be lowered. A well depth measurement should be taken with a weighted measuring line to confirm the exact depth to the bottom. The static water level—the distance from the ground surface to the water surface when the well is not being pumped—determines where the pump must be set. The pump intake must be submerged at least 10 to 20 feet below the static level to allow for seasonal water table drawdown, and the pump motor must be at least 5 to 10 feet above the well bottom to prevent sediment ingestion. In a typical residential well that is 200 feet deep with a static water level at 60 feet, the pump might be set at approximately 140 to 160 feet, well within the water column but safely above the bottom. The casing diameter must also be confirmed. A standard 4-inch submersible pump requires a casing with an inside diameter of at least 4 inches, though a 6-inch casing provides more clearance and better cooling flow around the motor. Before beginning the submersible water well pump installation, turn off the main breaker and lock it out to prevent accidental energizing of the circuit during the work.
2. Materials, Tools, and Component Checklist
A complete submersible pump installation requires not only the pump itself but also a matched drop pipe, a torque arrestor, a safety cable or rope, submersible-rated electrical wire, waterproof heat-shrink splice kits, a pitless adapter or well seal, and a control box that matches the pump motor's horsepower and voltage. The following materials must be assembled before any work at the wellhead begins:
- Submersible pump: Sized for the well depth and the required flow rate, typically measured in gallons per minute. A typical residential pump delivers 5 to 25 GPM at the required total dynamic head.
- Drop pipe: High-density polyethylene pipe rated for the full pump pressure, typically 160 or 200 PSI rating. The pipe diameter is commonly 1 inch or 1.25 inches for residential wells. Galvanized steel pipe is an alternative for very deep installations but is heavier and more difficult to handle.
- Safety rope or stainless steel cable: A non-corrosive safety line that attaches to the pump eye and to a secure anchor at the wellhead, providing a retrieval backup if the drop pipe fails.
- Torque arrestor: A rubber device clamped to the pump or the pipe just above the pump that expands against the well casing to prevent the pump from twisting during startup.
- Check valve: Installed just above the pump outlet to prevent water from draining back through the pump when it stops, protecting the motor from reverse rotation. For wells deeper than 200 feet, a second check valve may be installed at the midpoint of the drop pipe.
- Submersible electrical cable: A flat or round jacketed cable with individual conductors rated for direct submersion, sized according to the motor's full-load amperage and the total wire run length to keep voltage drop below 3% to 5%.
- Waterproof splice kit: A heat-shrink tubing kit with an internal hot-melt adhesive sealant, specifically rated for submersible pump connections. Electrical tape alone is never sufficient for an underwater splice.
- Pitless adapter or well seal: A device that connects the drop pipe inside the casing to the horizontal discharge line below the frost line while providing a watertight seal at the casing top.
- Control box: Contains the motor start capacitor, relay, and overload protection. Must be matched to the pump motor's specifications.
3. Assembling the Pump, Pipe, and Cable on the Surface
The pump, drop pipe, electrical cable, and safety rope must be assembled into a single, carefully aligned string at the surface before being fed gradually into the well, with every connection checked and double-checked for tightness and watertight integrity. The step-by-step assembly procedure for a submersible water well pump installation is as follows:
- Lay out the drop pipe along the ground in a straight line leading from the wellhead. If using polyethylene pipe, allow it to warm in the sun for an hour to increase flexibility and reduce the coiling memory that can make it difficult to handle.
- Attach the check valve to the pump discharge port. Thread it on with pipe thread sealant or PTFE tape rated for potable water. The arrow on the check valve body must point in the direction of water flow—upward, away from the pump.
- Connect the first section of drop pipe to the check valve using the appropriate barbed or threaded adapter. If using threaded connections, apply PTFE tape to the male threads and tighten with pipe wrenches, taking care not to over-torque and crack the plastic fittings. If using barbed insert fittings with hose clamps, use two stainless steel clamps per joint, offset by 180 degrees.
- Splice the submersible electrical cable to the pump motor leads. Strip the wire ends, slide the heat-shrink tubing over each conductor, crimp or solder the connections, and then apply heat evenly to shrink the tubing until the internal adhesive sealant oozes out from both ends, confirming a watertight seal. This splice is the single most critical electrical connection in the entire system. A failed splice allows water to enter the cable, shorting the motor within hours of startup.
- Attach the safety rope to the pump eye. Use a stainless steel cable clamp or a figure-eight knot if using synthetic rope, and secure the loose end with electrical tape to prevent snagging. The safety rope must be long enough to reach the wellhead anchor point with slack for tying off.
- Install the torque arrestor by clamping it to the pump body or to the pipe immediately above the pump according to the manufacturer's instructions. The arrestor should be positioned so that it compresses slightly as it enters the casing, providing a snug fit without jamming.
- Secure the electrical cable to the drop pipe every 10 to 15 feet using UV-resistant cable ties or vinyl electrical tape. The cable must be attached loosely enough that it does not stretch when the pipe expands and contracts with temperature, but tightly enough that it will not snag on the casing joints. Never leave a loop of cable that could hang below the pump.
4. Lowering the Pump Assembly Into the Well Casing
Lowering the completed pump string into the well requires at least two people and a consistent, controlled motion; the pump is eased into the casing vertically, additional pipe sections are joined as the string descends, and the safety rope and electrical cable are fed simultaneously to prevent tangling. For a well deeper than 100 feet, a tripod and a pipe clamp or elevator are strongly recommended to support the weight of the growing pipe column. The procedure for lowering a submersible water well pump into the well is as follows:
- Position the pump vertically over the well casing and guide the motor end into the opening. Never tilt the pump and force it past a casing obstruction; if the pump does not slide freely, determine the cause before proceeding.
- Lower the pump slowly while feeding the attached pipe, cable, and safety rope into the well. One person controls the pipe, one manages the cable, and a third, if available, tends the safety rope to keep it from going slack.
- As each section of pipe descends, join the next section at the wellhead. For threaded pipe, apply sealant and tighten. For barbed fittings, insert the barb fully and double-clamp. Pull the electrical cable snug and add a cable tie before lowering the joint below the casing top.
- Continue lowering until the calculated setting depth is reached. The pump should be suspended at the predetermined depth, typically with the pump intake 10 to 20 feet below the static water level and the motor at least 5 to 10 feet above the well bottom.
- Secure the safety rope to a solid anchor point at the wellhead. This anchor must be independent of the pitless adapter or well seal. A stainless steel eye bolt set into the concrete well pad or a dedicated clamp on the steel casing serves this purpose.
- Install the pitless adapter or well seal to close the top of the casing, routing the drop pipe and electrical cable through the appropriate ports. The well seal must be tightened evenly to form a watertight and vermin-proof barrier.
5. Electrical Connections, Control Box, and Initial Startup
The control box must be mounted in a dry, protected location near the pressure tank, and the incoming power leads from the breaker panel and the outgoing leads to the pump must be connected exactly as shown on the wiring diagram inside the control box cover, with the ground wire attached to the designated grounding terminal. The control box contains a start capacitor that provides the phase shift necessary to start the single-phase induction motor. If the capacitor, relay, or overload protector is incorrectly wired, the motor may hum without starting, or it may start and then trip the overload repeatedly. Once the wiring is complete and double-checked, follow this startup sequence:
- Open a faucet or hose bib downstream of the pressure tank to allow air to escape from the plumbing during the initial fill.
- Turn on the breaker and observe the control box. The pump should start immediately and run smoothly. An ammeter clamped around one of the power leads will show the running current, which should be at or below the full-load amperage listed on the motor nameplate. Excessive current indicates a binding pump, incorrect voltage, or a wiring fault.
- Allow the pump to run until the water runs clear and free of air bubbles. This may take several minutes for a deep well with a long pipe column. Monitor the pressure gauge at the tank to confirm that the pump builds pressure to the cutout setting, typically 50 to 60 PSI.
- Once the tank is pressurized and the pump has cycled off, close the faucet and check all accessible fittings for leaks. Listen at the wellhead for any hissing or gurgling that would indicate a leak in the drop pipe or a failing check valve.
6. Comparison of Self-Installation vs. Professional Installation
While a homeowner with mechanical aptitude and electrical knowledge can successfully install a submersible pump, the decision between DIY and professional installation involves evaluating the well depth, the weight of the assembly, and the value of a licensed contractor's warranty and liability coverage. The table below compares the key considerations for each approach.
| Factor | DIY Installation | Professional Installation |
|---|---|---|
| Typical Cost (excluding pump) | $300–$800 (materials and tools) | $1,500–$3,500 (labor and materials) |
| Time to Complete | 1–2 days | 4–8 hours |
| Warranty | Manufacturer pump warranty only; no labor warranty | Pump warranty plus installer's workmanship warranty (typically 1–2 years) |
| Liability for Damage | Homeowner bears full cost of dropped pump or well damage | Contractor's insurance covers accidental damage |
| Permit and Code Compliance | Homeowner responsible for pulling permits and meeting local codes | Contractor handles all permits and ensures code compliance |
Frequently Asked Questions About Submersible Well Pump Installation
How deep should a submersible pump be set in a water well?
A submersible water well pump should be set with its intake at least 10 to 20 feet below the static water level to account for seasonal drawdown and pumping water level decline, and the motor should be positioned at least 5 to 10 feet above the bottom of the well to prevent sediment from being drawn into the pump and to allow cooling water to circulate around the motor.
What size wire is needed for a submersible well pump?
Wire size depends on the motor horsepower, the supply voltage, and the total distance from the breaker panel to the pump. For a typical 1-horsepower, 230-volt pump located 200 feet from the panel, 12 AWG copper wire is usually adequate. For longer runs or larger motors, 10 AWG or 8 AWG may be required to keep voltage drop under 3%. Always consult the pump manufacturer's wire sizing chart for the specific model.
Can I use PVC pipe instead of polyethylene for the drop pipe?
Yes, schedule 80 or schedule 120 PVC pipe with threaded ends can be used as drop pipe for a submersible water well pump. PVC provides a rigid column that does not stretch under pressure and is easier to handle in very deep installations. However, each threaded joint must be carefully sealed, and the heavier weight requires a reliable means of supporting the pipe at the wellhead during assembly. Polyethylene pipe is more forgiving and eliminates the risk of a threaded joint separating downhole, but it requires barbed insert fittings and double clamping.
What is the most common mistake when installing a submersible pump?
The most frequent and damaging mistake is an improperly sealed electrical splice. Water entering the splice can travel through the entire length of the cable inside the insulation, corroding the conductors and eventually shorting the motor. The second most common mistake is failing to install a torque arrestor, which allows the pump to twist on startup and can cause the pipe to unscrew or the cable to rub against the casing until it chafes through.
Learning how to install a submersible water well pump is a demanding but achievable project for a prepared DIY installer. Success depends on careful measurement of the well, methodical assembly of the pipe string and electrical connections, and patient, controlled lowering of the pump to its operating depth. The reward is a dependable, high-capacity water supply that operates silently and invisibly for a decade or more beneath the ground.